Painting a guitar is not as easy as picking a brush and applying it all over the guitar body; it involves caution and a step-by-step process. Otherwise, you might end up ruining your guitar. Some major steps are preparing and sanding the guitar, using a primer, or sealing the paint job. Can you do these all by yourself?
Of course, you can do it! Here I am presenting easy-to-follow steps on how to paint a guitar so that you can paint like a pro!
When it’s about painting a guitar, a lot of musicians prefer vintage guitars because they give off that old-school vibe, while some want to give their guitars a ravishing look by painting them. In this post, I’ll talk about how to paint a guitar by covering every aspect in a detailed, easy-to-follow step so that you can get started now, even if you are doing it for the first time!
- How To Paint A Guitar: What You’ll Need
- How To Paint A Guitar Body?
- How To Paint An Acoustic Guitar In 6 Easy-to-follow Steps
- How To Paint An Electric Guitar
- How To Paint Guitar Neck
- How to Apply a Sunburst Guitar Finish
- How To Hand Paint A Guitar
- How To Paint A Guitar With Acrylic
- How To Paint A Guitar With Spray Paint
- How To Paint A Pickguard: Step-by-step
- How To Paint A Guitar: Conclusion
- FAQ:
How To Paint A Guitar: What You’ll Need
Painting a guitar is a fun and satisfying way to customize your instrument. Before you start, you’ll need these:
- A primer,
- Paint,
- Sandpaper,
- Some tape
- A clean cloth
- A clear coat, etc.
Moreover, you also need a well-ventilated area to work in. But how to paint a guitar? Painting an acoustic guitar isn’t the same as painting an electric guitar. There are different steps to follow for each of them. But with a little practice and patience, you can create a beautiful, customized guitar that everyone will notice.
How To Paint A Guitar Body?
Painting a guitar body is simple task that anyone who knows how to paint can do it. It is true, but it does require some patience, attention to detail, and preparations. To paint a guitar body, you need to follow some steps, like removing the strings, cleaning the surface properly, or applying a primer, so the paint adheres to the guitar.
These steps can be a little tricky if you don’t follow them properly in an orderly manner, and the result is you won’t get the exact texture you wanted in the first place. So, below I explained all the information you need and a step-by-step guide on how to paint a guitar body (both acoustic & electric).
How To Paint An Acoustic Guitar In 6 Easy-to-follow Steps
Here are the six easy-to-follow steps that will help you properly paint your acoustic guitar and protect it from damage.
1. Prepare The Guitar:
First, remove all the removable parts such as strings and hardware like truss rod and bridge. After that, clean the guitar. Here are some simple steps to clean the guitar. First, ensure that your hands are clean so you do not spread dirt throughout the guitar.
- Step 1: Clean the whole guitar with a damp cloth. But remember not to put so much pressure while cleaning.
- Step 2: Polish the body of the instrument properly. You can use lemon oil for that.

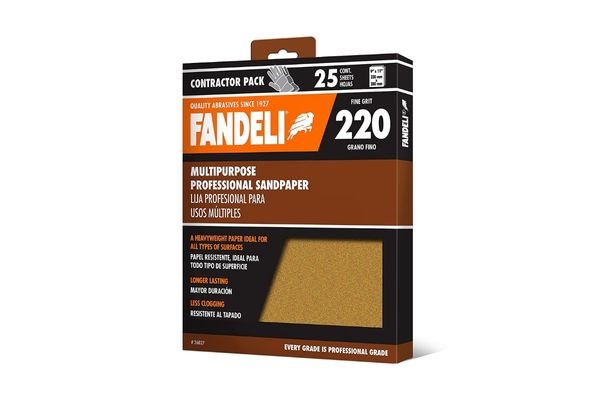
2. Sand The Old Finish:
The old finish on a guitar’s body and possibly the neck must be removed before painting the instrument to protect the paint. Otherwise, the paint wouldn’t adhere properly to the surface. You can use medium grit sandpaper for the process. Follow the below steps to sand the old finish properly.
- Step 1: Place the guitar body on a flat surface and use sandpaper lightly to sand the body in a slight motion. Sand both the top and bottom of the guitar body.
- Step 2: Use a higher grit sandpaper and then move to a lower grit to ensure a smooth and even finish.
- Step 3: After sanding, wipe the body with a soft cloth.
Caution: Follow the wood grain and do not use too much pressure while sanding.
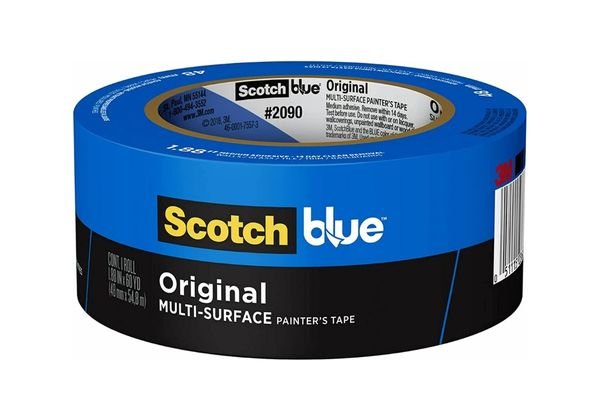
3. Wrap Protected Parts In Tape:
Ensure that all non-removable hardware and places are covered with painter’s tape. Depending on the final design, specific areas will need to be covered. Because some of us like to keep the neck unpainted, while some keep the manufacturer’s logo untouched on the headstock. But for the fretboard, even if you don’t cover the whole, you must cover the metal fret bars, so any paint splashes don’t get onto them.
4. Draw The Outline:
If the paint is not a solid color and you want to minimize the chances of making mistakes, I recommend drawing an outline of your design on the guitar. You can use a pencil or a paint marker for this. I found outlining the design so effective that it’s just filling colors while painting, making the process simpler.
5. Paint The Guitar:
When you have done all the above steps properly, it’s time to paint the guitar. In this step, you need to put 4 to 5 coats of paint on the guitar.
First, apply paint in a minimum of two to three coats. Apply the paint in thin, even coats, and let it dry for at least 15 minutes before applying a second coat.
You should never add a coat before the previous coat is dried properly. After the coating is done, sand the paint to make the surface plain. Then apply another two coats and sand the surface again. This will build a solid layer on the surface, and the finish will last long.
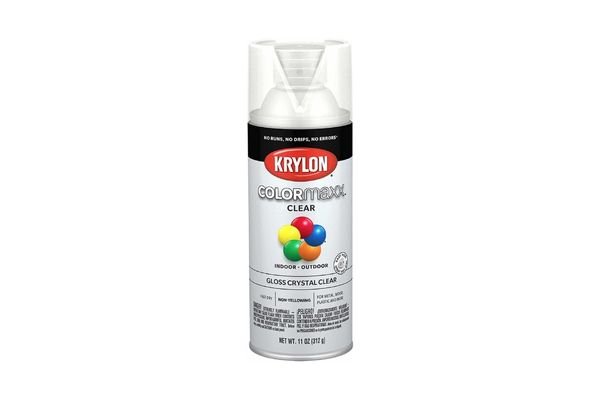
6. Seal The Guitar:
A layer of finish or clear coat must be applied after the paint has dried properly. Put one coat at a time, and wait for it to dry before applying the next. Repeat the process for two or three coats. With this refinishing, the wood and new paint job will be protected from damage like scratch.
How To Paint An Electric Guitar
Follow the below 5 steps to paint your electric guitar properly and safeguard your guitar from damage.
1. Prepare The Guitar:
First of all, take all the hardware off your electric guitar. Also, take the neck off the body. Here’s how to remove the guitar neck.
- Step 1: Turn the guitar upside down and locate the screws that attach the neck to the body of the guitar.
- Step 2: Unscrew the screws and keep them in a safe place.
- Step 3: Once the screws have been removed, carefully pull the neck away from the guitar’s body.
Now, with some painter’s tape, tape off the fretboard and any other parts of the guitar you do not want to paint.
Then, sand the guitar body properly. Sand the body of the instrument with 220-grit sandpaper and follow the grain while sanding. This will help you smooth out all irregularities on the guitar body. Ensure that you sand both sides as well as the edges of the guitar.
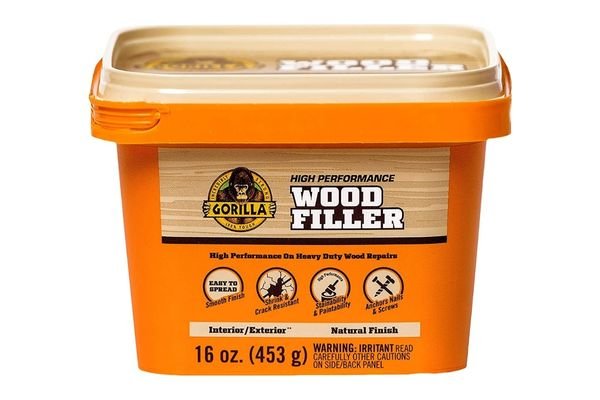
2. Use Wood Filler & Sanding Sealer:
Apply a quality wood filler. Wood fillers are used to fill holes, cracks, and dents on the guitar. After using wood filler, wait for a while, so it dries out properly. Then sand each spot carefully, so they become smooth and even with the surface.
When the sanding is done, use a sanding sealer on the body. In most cases, sanding sealer is applied with a paintbrush as it comes in a non-aerosol container. Use the paintbrush and put on two or three light coats on the body, and wait for around 30 minutes between each time. Now put on a heavy coat and let it dry for 24 hours.

3. Use A Primer:
Use a primer and spray the guitar in an even, light coat. Let the primer dry properly. Once the primer is dry, ensure that there are no dents or uneven surfaces on the guitar body. If it has, you need to sand the surface again. If the surface has no flaws, continue applying thin, even layers of primer to the instrument, and let each one dry completely between applications. Follow the process until the entire guitar is covered.
4. Paint The Guitar:
At first, apply a clear coat evenly and lightly to the guitar. Continue the process twice more after the first layer becomes a bit tacky. Now, apply a heavier coat of the clear coat on the guitar and let it dry overnight. Repeat this entire process at least five times until an even and thick layer builds up. This way, your guitar will have a protective layer that prevents damage.
5. Use A Guitar Polish:
Take a microfiber cloth or a soft material clean cloth and apply a quality guitar polish like Dunlop guitar polish. Make sure the guitar’s entire body is polished properly. You can also use the polish on the metal components like tuning pegs and bridge, so they get a shiny and new look.

How To Paint Guitar Neck
There are a few things to consider when painting a guitar neck. The first is the type of paint you will use. The most common types of paint used on guitar necks are lacquer and urethane. Lacquer is the traditional type of paint used on guitars, and it is known for its high shine and durability. Urethane is a newer type of paint that is becoming more popular due to its ability to resist wear and tear. Here’s how to paint a guitar neck:
- Choose a color. Consider the overall look you are trying to achieve while choosing the color.
- Apply a primer to the neck. This will help the paint to adhere to the neck and prevent it from chipping or flaking off.
- Begin painting the neck. Remember to use smooth, even strokes when painting and ensure that the paint is dry completely between coats.
- Apply a clear coat. a finish or coat will protect the paint and give the neck a high gloss.
How to Apply a Sunburst Guitar Finish
If you’re looking to add a touch of retro style to your guitar, painting it in a sunburst finish is a great way to do it. Here’s how to paint a sunburst guitar:
- Firstly, sand down the entire guitar body with a fine-grit sandpaper. This will help the paint to adhere.
- Secondly, mix your paint colors. You’ll need a light color for the center of the sunburst and a dark color for the edges.
- Thirdly, start painting from the center of the guitar body outwards once your paint is mixed. Use a circular motion to create the sunburst effect. Allow the paint to dry completely before moving on to the next step.
- Lastly, add the finishing touches. Use a thin brush to paint stripes of white paint over the sunburst. This will give the guitar an extra color pop. Allow the paint to dry completely before enjoying your newly painted guitar!
How To Hand Paint A Guitar
If you have an artistic frame of mind and want to go creative, hand painting is the way to go. You will need paint, brushes, and sandpaper. Follow the below steps to hand paint a guitar properly:
- Step 1 Lay out your materials and prep your workspace.
- Step 2 Properly sand the guitar to create a smooth surface.
- Step 3 Apply a base coat of paint and allow it to dry.
- Step 4 Once the base coat is dry, paint the guitar and allow the paint to dry completely.
- Step 5 Once you are finished painting, add a clear coat to protect the paint job.
How To Paint A Guitar With Acrylic
Many professional guitarists prefer acrylic paint for its durable finish. You will need acrylic paint, paint brushes, and sandpaper. Below find the steps to paint a guitar with acrylic:
- Step 1 Smooth the surface of the guitar by using sandpaper.
- Step 2 Use a coat of desired color primer on the instrument.
- Step 3 Start painting the guitar with acrylic paint and let it dry.
- Step 4 Put on several light coats of paint, and let each one dry before applying the next.
- Step 5 When you are satisfied with the color, put on an acrylic clear coat to seal the paint job.
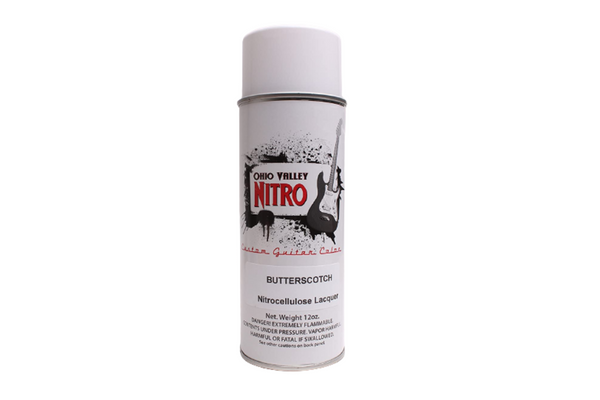
How To Paint A Guitar With Spray Paint
The process of spray painting a guitar is relatively easy, and the proper use of the spray paint also gives an even layer. Moreover, these spray paints are safe to use. All you will need is a can of spray paint and some sandpaper. Here are easy-to-follow steps on how to paint a guitar with spray paint:
- Step 1 Clean the guitar surface thoroughly before painting to remove any dirt or grease.
- Step 2 Use the sandpaper properly to sand the surface to provide a good surface for the paint to adhere to.
- Step 3 Once the sanding is complete, use a primer and let it dry properly.
- Step 4 Shake the spray thoroughly for at least two minutes and apply it.
- Step 5 Apply multiple thin layers of the paint on the guitar.
- Step 6 Use a clear coat on the guitar to protect the finish once the paint is dry.
Caution: Remove the strings before you paint, otherwise you may need to replace the strings.
How To Paint A Pickguard: Step-by-step
You can paint the pickguard if you want to, and it’s really easy to do it. Let me tell you some easy-to-follow steps on how to paint a guitar:
- Remove the pickguard. Also, clean the surface to remove any grease or dirt.
- Sand the surface. Use sandpaper to rough it up and give the paint something to grip on.
- Apply a primer. Remember to let the primer dry properly.
- Paint the pickguard. Choose any color you like. Just make sure to use paint that’s made for plastic surfaces.
How To Paint A Guitar: Conclusion
Painting your guitar doesn’t have to be complicated, even if this is your first time attempting such a project. With some planning, the right paints and a few helpful tips, you can successfully paint your guitar in no time. While painting a guitar, remember to start with a color that complements the wood tone.
You can find a color chart that will provide you with a large variety of tones to choose from. Whether you want to bring a vintage guitar to life or simply need to spruce up that old look, just follow the above steps on how to paint a guitar. Now bring out your artistic mind and have a great time with the paints and the guitar.
Related Posts: How to clean guitar fretboard
FAQ:
Can you paint a guitar with acrylic paint?
Yes, you can. In fact, with a fast and durable finish, acrylic paints are one of the most popular types of paints when it comes to painting a guitar.
Can you paint an acoustic guitar?
Of course, you can. Acoustic guitars are made of wood, and most types of paints, like acrylic paint and spray paint, are suitable for wooden surfaces.
Does painting a guitar change the sound?
Yes, the paint on the guitar can affect its sound by changing how the sound waves interact with the wood. if the surface is densely painted, there’ll be less vibration, which may change the tone a bit. But the change in sound is so slight. If you paint properly the change won’t be something noticeable.